The Invisible Hardware Killers: 5 Reasons Your Synthesis Failed Before It Began

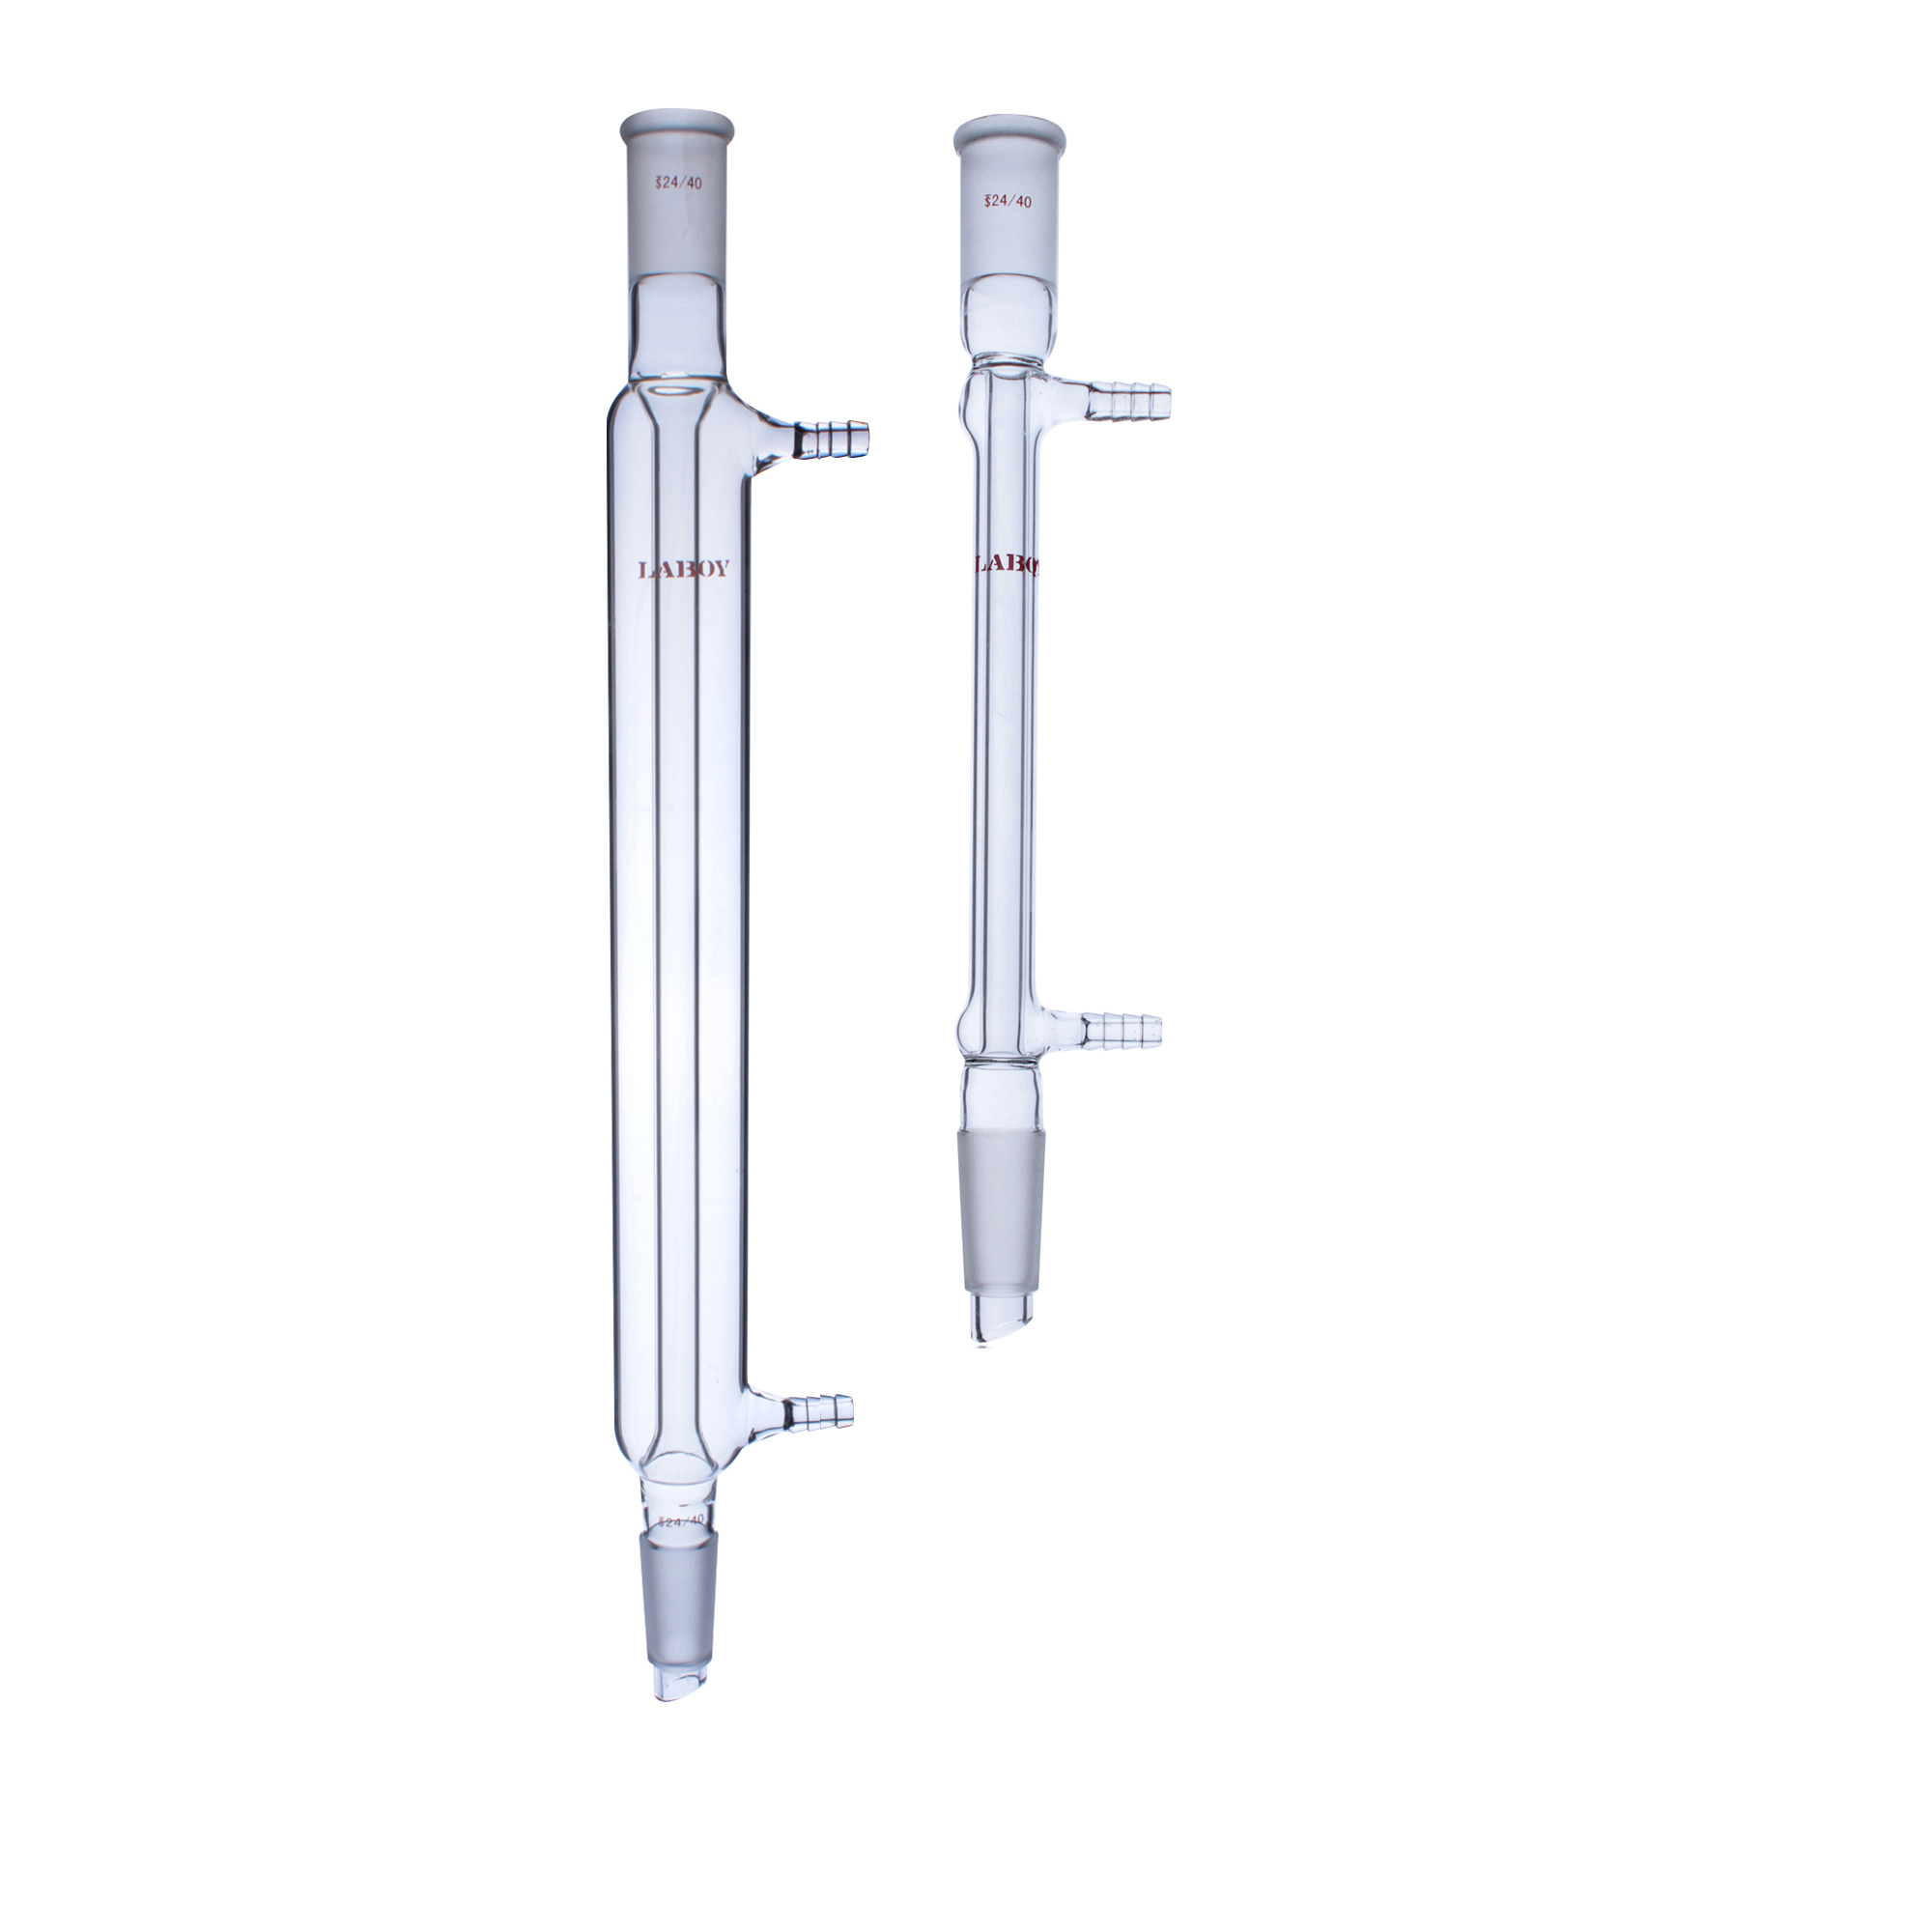
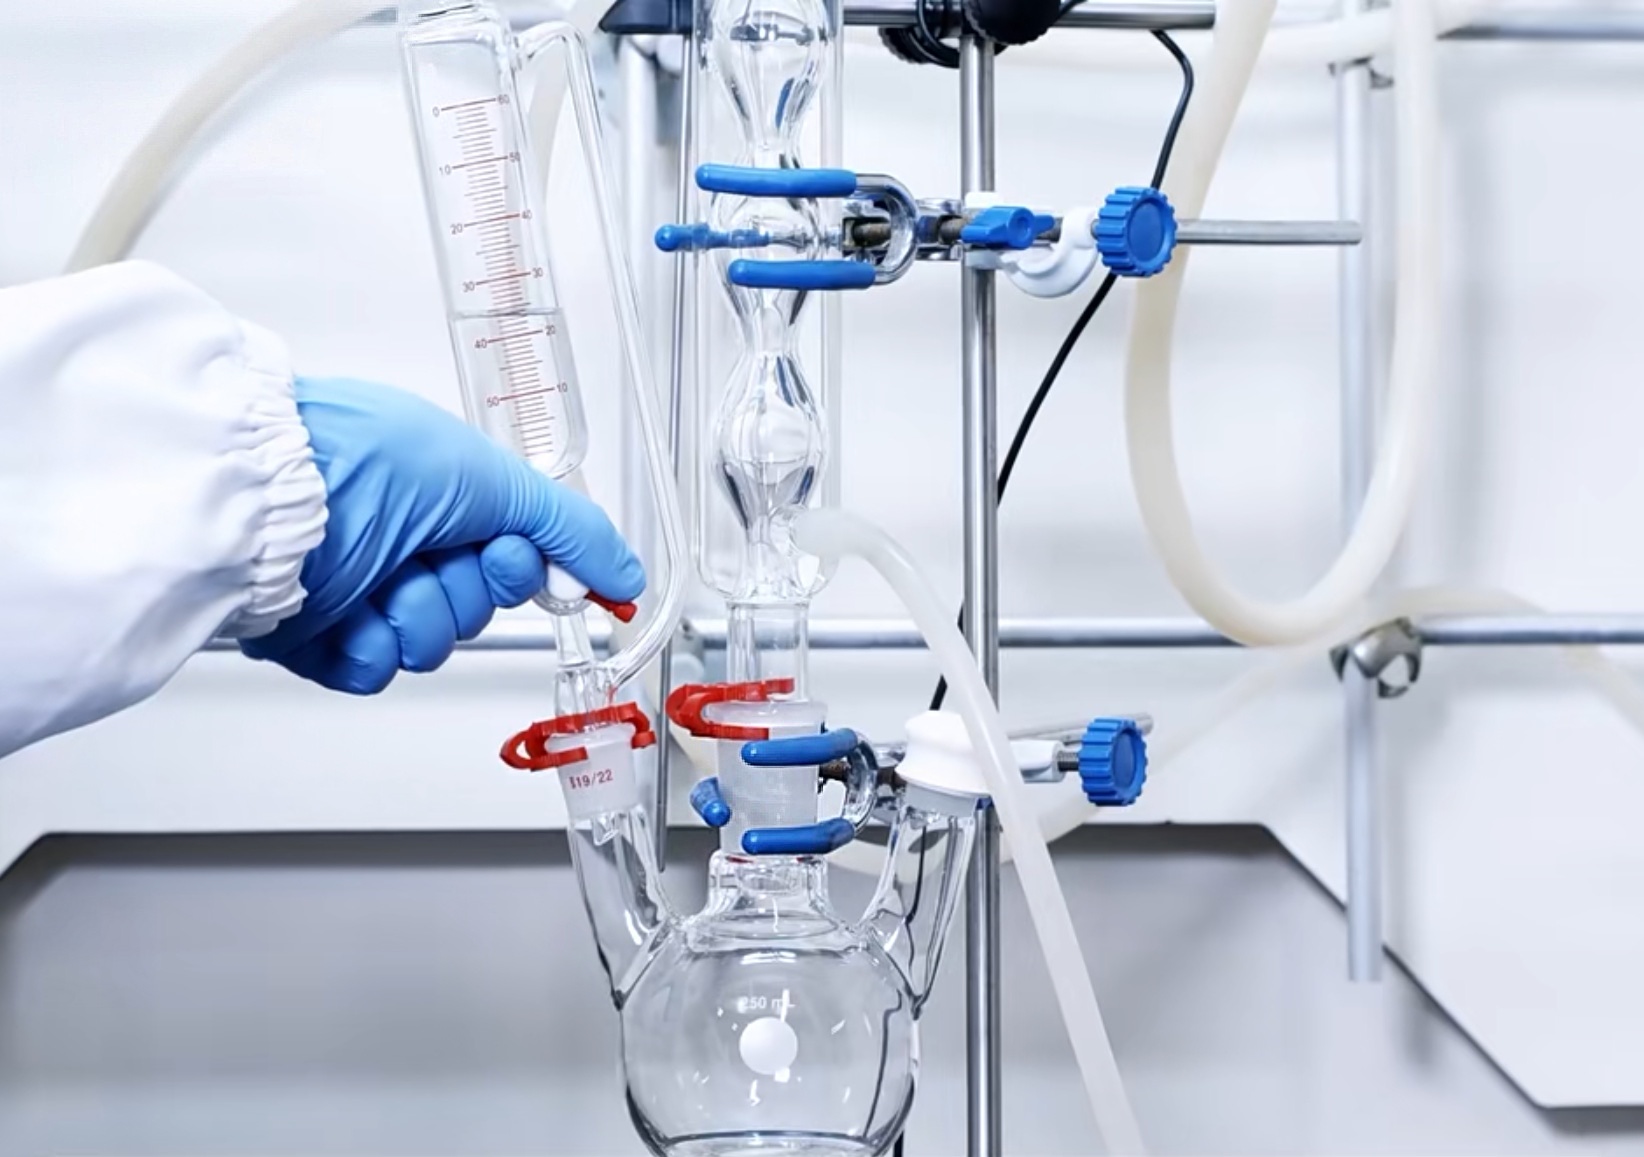
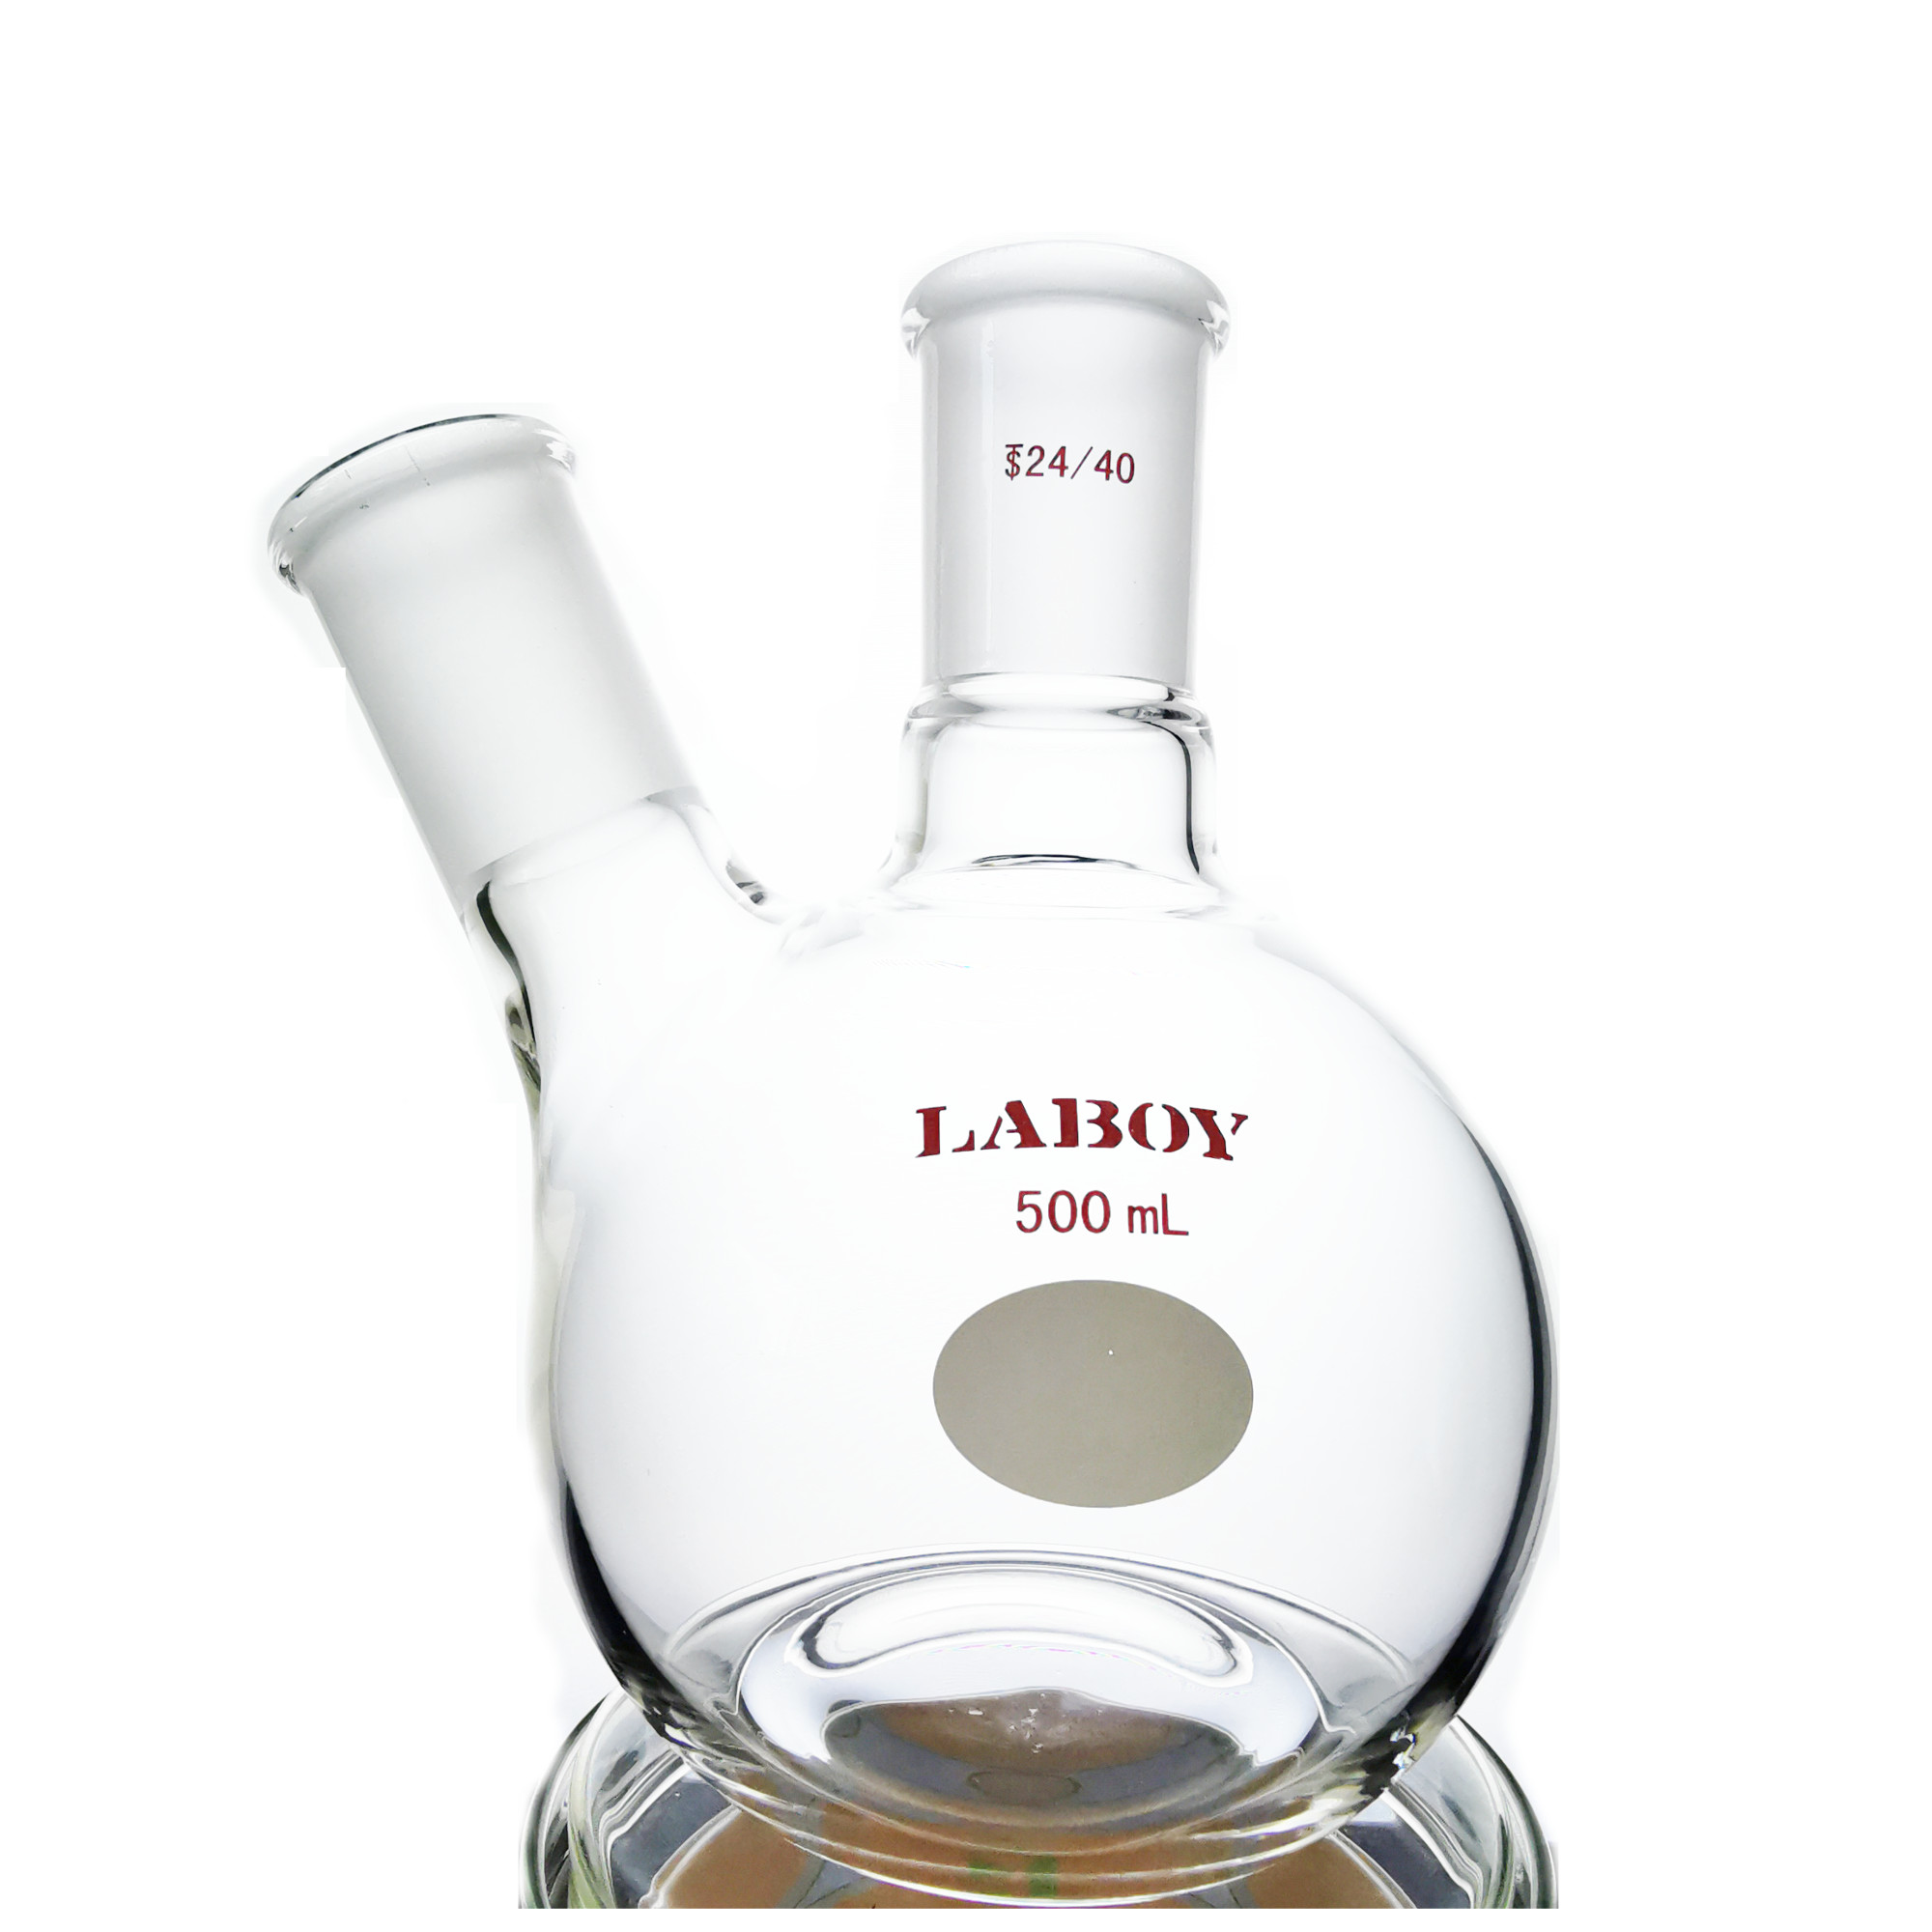
You’re standing in front of your fume hood, staring at a flask full of black tar, or perhaps squinting at an NMR spectrum that looks like a barcode of random impurities. Your first instinct is probably to curse the supplier for sending impure reagents, or to blame the steric hindrance of your substrate. As someone … Read more