It’s not just about aesthetics—it’s about survival under pressure. We dive into the physics behind flask shapes, the “2-neck vs. 3-neck” debate, and why the geometry of your glassware is your first line of defense in vacuum safety.
In the world of chemistry, the shape of a vessel is rarely an aesthetic choice—it is a physics equation made of borosilicate glass.
A recent debate in the chemistry community regarding “2-neck vs. 3-neck flasks” highlighted a deeper understanding of laboratory safety. Beyond the convenience of extra ports, the discussion revealed critical insights into pressure dynamics and vacuum safety.
Here is the science behind why your flask looks the way it does.
1. The Arch vs. The Drum: Vacuum Physics
Why are reaction flasks round?
Many beginners prefer Flat Bottom Flasks for convenience. However, seasoned chemists know that applying a vacuum to a flat surface is a recipe for disaster.
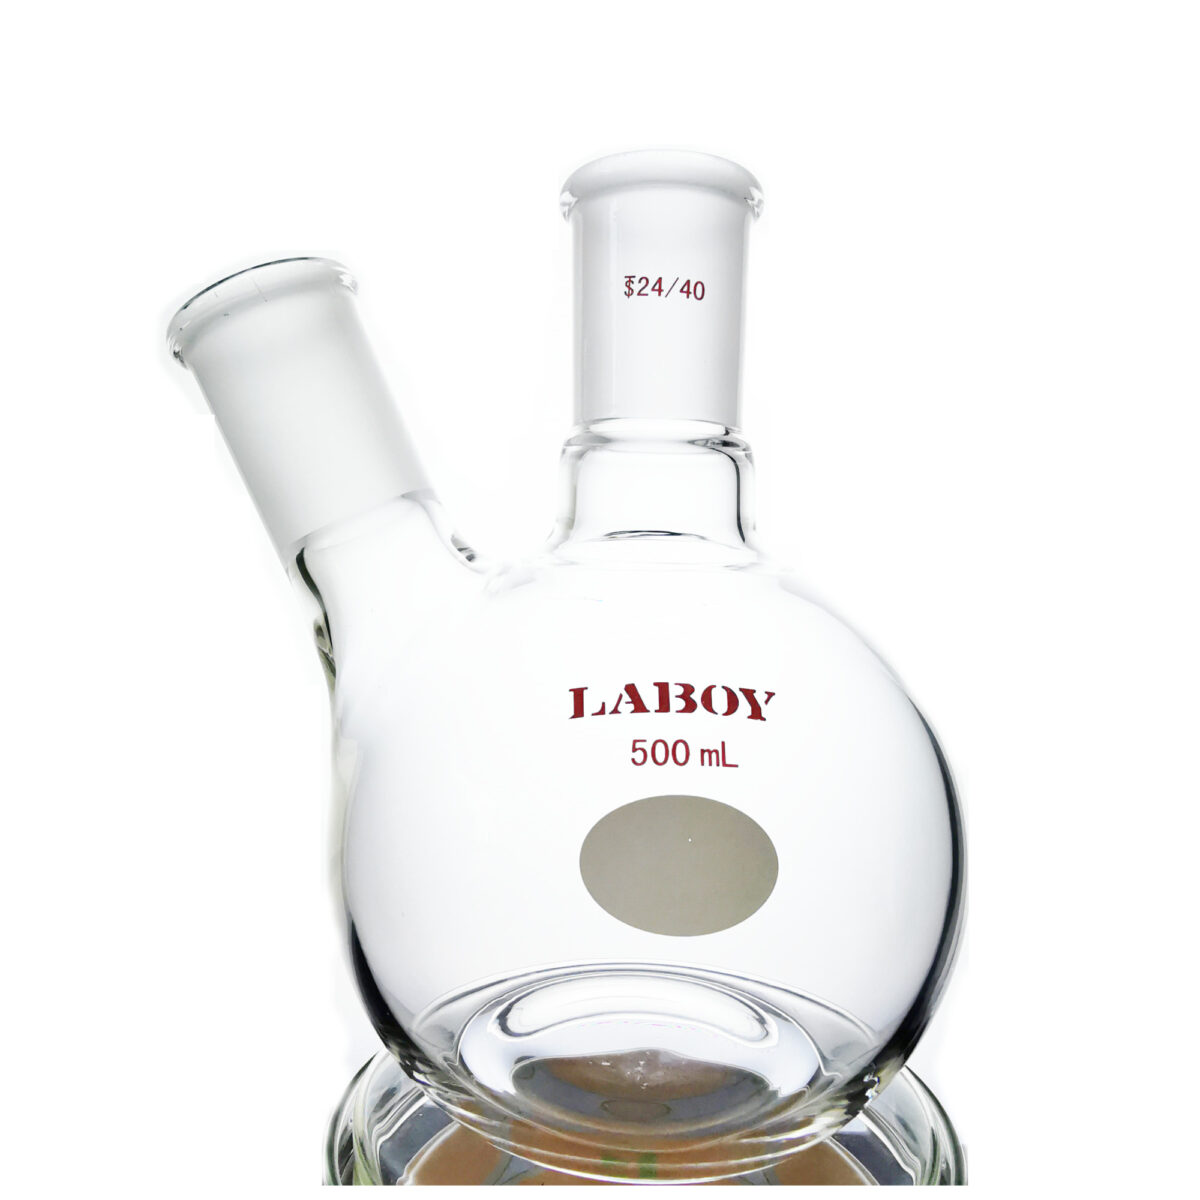
Round Bottom Flasks (RBF): These utilize the principle of the Arch. When a vacuum is pulled inside, atmospheric pressure pushes inward. A sphere distributes this compressive stress evenly across the entire surface. It is nature’s strongest shape.
The Standard for Reactions: This 500mL round bottom flask features a spherical base for uniform heat distribution and superior vacuum resistance, requiring a cork ring or clamp for support.
Flat Bottom Flasks: These act like a Drum Skin. Atmospheric pressure pushes on the flat center, creating massive bending stress. Glass is strong in compression but weak in tension/bending. A flat bottom under vacuum is prone to catastrophic implosion.
Free-Standing Design: This 500mL flat bottom flask sits stable on the benchtop without a support ring, featuring a 2-neck configuration for versatile setups.
The Takeaway: Flat bottoms are for storage. Round bottoms are for reactions. Never confuse the two.
2. The Probability of Leaks: Joint Theory
When selecting between a 2-neck and a 3-neck flask, one must consider the “Leak Probability.”
In engineering, every connection point is a potential point of failure. In chemistry, every Ground Glass Joint (Standard Taper) is a potential vacuum leak.
3-Neck Flasks: Ideal for complex organic synthesis where you need to reflux, monitor temperature (thermowell), and add reagents simultaneously.
2-Neck (or Single Neck) Flasks: Preferred for High Vacuum work.
If you are running a Schlenk line or trying to achieve a deep vacuum, a 3-neck flask requires three perfect seals. A 2-neck flask reduces your risk margin by 33%. As one forum member noted, “More necks = Better versatility, but fewer necks = Better vacuum.”
3. Practical Advice for the Modern Chemist
Based on the consensus of laboratory safety experts, here are the rules of thumb for glassware selection:
Don’t Fear the Round Bottom: Use a cork ring or a weighted base. Never sacrifice the structural integrity of an RBF just for the convenience of a flat bottom.
Plan Your Ports: If you are buying a general-purpose flask (e.g., 2000ml), the 3-neck RBF is usually the standard. You can always stopper a joint, but using “Claisen Adapters” to add necks to a 2-neck flask adds height, instability, and breakage risk.
Check Your Mantle: Note that 3-neck flasks can sometimes be difficult to fit into standard heating mantles due to the angle of the side necks. Ensure your heating equipment is compatible with your glassware.
Summary
Chemistry is not just about mixing substances; it is about managing the physical environment in which those substances interact. Choosing the right flask—round vs. flat, 2-neck vs. 3-neck—is the first step in a safe and successful experiment. Unsure which configuration fits your specific needs? Read our detailed guide: 2-Neck vs. 3-Neck Boiling Flasks: Which Should You Buy for Your Lab?
An entry-level guide for students stepping into the organic lab for the first time.
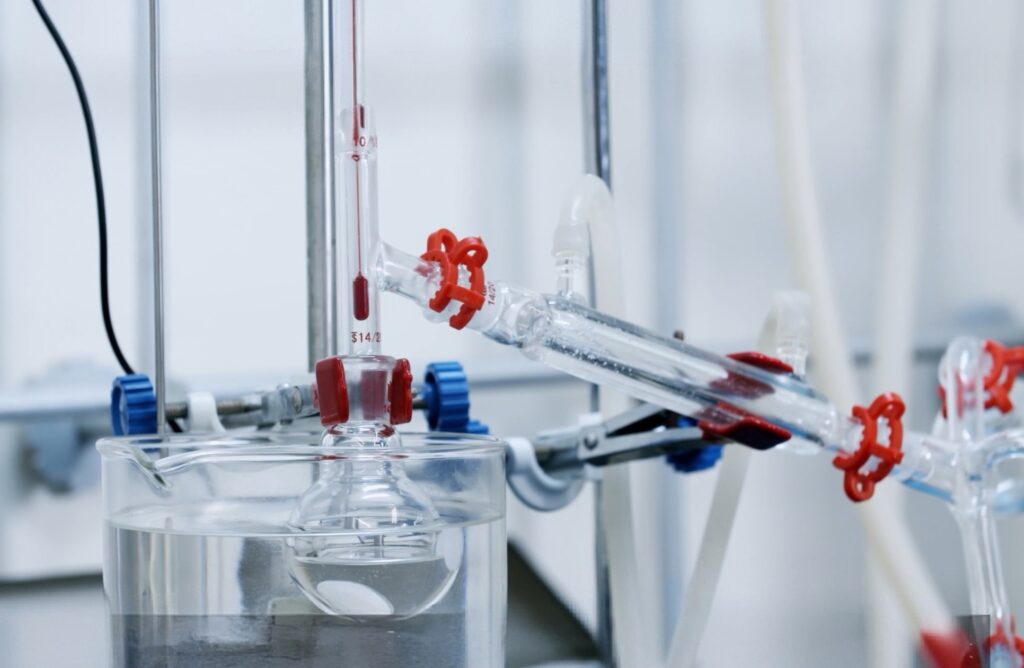
On your first real day in an organic lab, you probably won’t start with NMR or a Schlenk line. You’ll start with something that looks almost boring: putting together a reflux setup.
A round-bottom flask on a heating mantle, a condenser on top, maybe a drying tube or a gas inlet, sometimes a dropping funnel on the side. You line them up on the bench and then—click, click, click—they all press together through those frosted connections.
No rubber stoppers. No tape. No hose clamps holding glass to glass.
The whole apparatus stands there as one piece: heated, sealed, able to run for hours, and still easy to take apart and clean afterward. The quiet hero making this possible is the ground-glass joint.
If you’re going to spend any serious time in an organic lab, learning to “read” a joint with your eyes and your fingertips is almost as important as learning to read a spectrum.
Why ground-glass joints are everywhere in organic labs
In a typical organic lab, almost every connection—from flasks to condensers to thermometers—is made with standard taper ground-glass joints.
If you stop for a moment and look around, you’ll notice something: organic labs are full of standardized glass. Almost every joint you touch will have a marking like 14/20, 19/22, 24/40. Those numbers are not decoration. They are the reason glass from different manufacturers can click into the same setup.
A 24/40 flask from one brand, a 24/40 condenser from another, and a 24/40 adapter someone rescued from the back of a cabinet—if the joints are properly made, they will fit. That standardization is what lets a lab grow piece by piece over years without turning into a pile of incompatible parts.
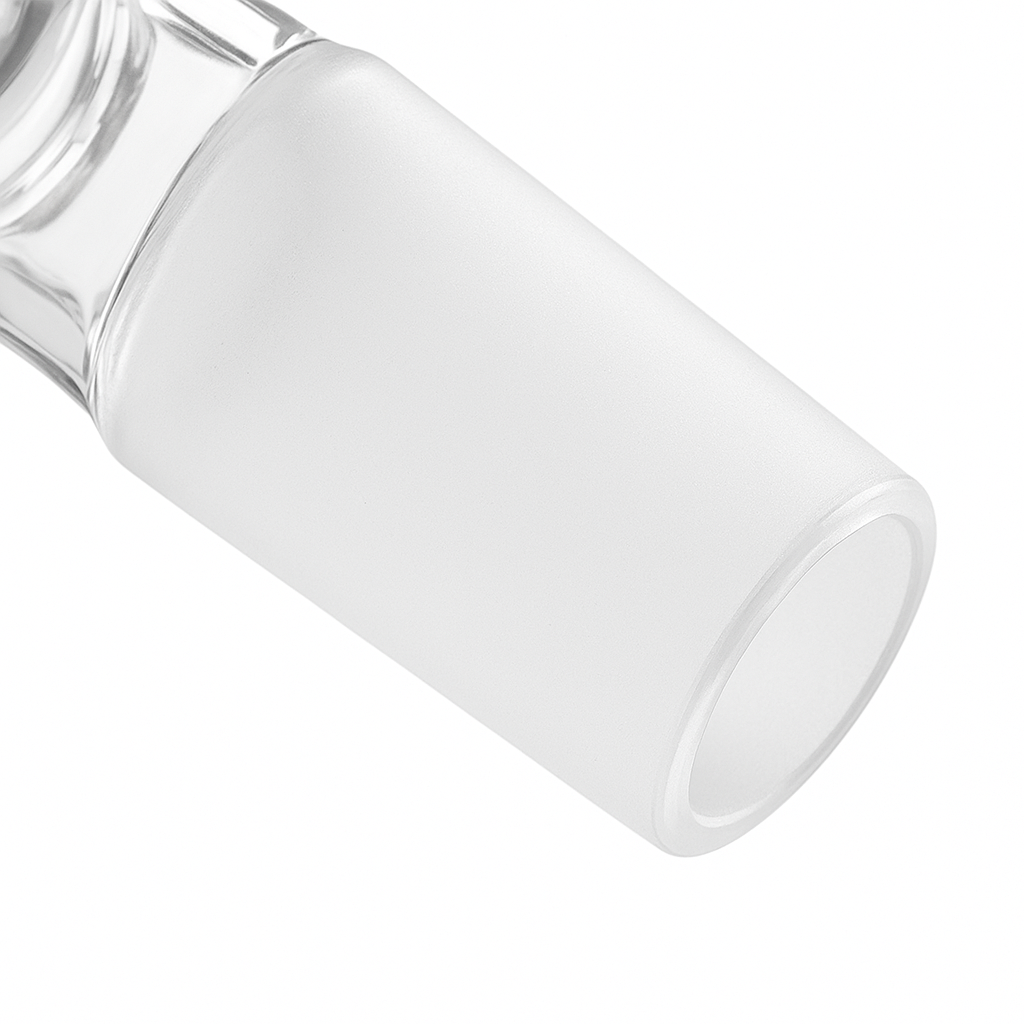
There is another reason ground-glass joints dominate organic labs: sealing and safety. The frosted surface is not just there to look “lab-like”. When two well-made joints are pressed together:
They form a reasonably gas-tight seal, even without grease, good enough for most routine refluxes and many inert-atmosphere experiments.
With a thin film of grease and good glass, they can tolerate mild vacuum and long heating periods without the joint creeping open.
Compare that with rubber stoppers. Rubber can swell, crack, or slowly dissolve in strong acids, bases, or organic solvents. A stopper that looks fine at the start of the semester can suddenly become soft, gummy, or leaky halfway through the term. Glass, by contrast, is chemically resistant, heat-tolerant, and dimensionally stable. Once you’ve pressed a good set of joints together, you can mostly stop worrying about the connection and focus on the chemistry.
There is also a very simple, everyday reason: cleanup. Organic reactions leave behind oils, polymers, crystals stuck in corners, and the occasional mysterious brown film. A setup built with ground-glass joints can be taken apart with a gentle twist, piece by piece, and every surface is accessible to brushes, rinses, and the dishwasher or ultrasonic bath. Try doing that with a single flask sealed tightly with a rubber stopper and a glass tube jammed through it—you quickly end up fighting the hardware instead of cleaning it.
All of this adds up to one idea that is easy to forget once you get used to it: ground-glass joints are what make organic apparatus both modular and trustworthy.
How to judge a ground-glass joint at a glance
Once you see why they are everywhere, the next step is learning how to tell a good joint from a risky joint just by looking and feeling.
When you pick up a joint, let your eyes go to the frosted zone first. A reliable joint usually has a smooth, even, matte surface. The frosting should be fine and uniform, without deep grooves, bright shiny patches, or obvious pits. If you see a long scratch, a “track” running around the surface, or a polished area where the frost has been worn away, that is a sign the joint has been abused or heavily used. It may still work for a simple, open-to-air setup, but you should hesitate before trusting it on a vacuum line or in a tall, fragile column.
Next, look at the shape of the taper. Hold the joint at eye level and sight along it, as if you were judging whether a glass rod is straight. A well-made joint will have a clean, straight cone: no bulges, no sudden changes in thickness, no “bent waist”. If one end is noticeably thicker, or the taper looks slightly crooked, that mismatch can lead to uneven contact when it is paired with its mate. In mild cases, it just feels awkward. In worse cases, it can concentrate stress and make breakage under vacuum more likely.
After you have looked, you should test it with a real fit. This is where your hands take over from your eyes. Take a matching joint—female to male or male to female—and gently press them together while giving a small twist. You’re looking for a very particular feel:
The rotation should be smooth, with no grinding or catching.
When seated, the joint should not wobble or rattle if you nudge it.
At the same time, it should not seize so tightly that you are afraid to pull it apart.
A good pair of joints will meet, slide, and then “settle” into place. Even without grease, gravity alone should be enough to keep a condenser sitting neatly on top of a flask when the setup is vertical and undisturbed.
On the other side of the spectrum are joints you should treat with caution from the moment you see them. Some warning signs are obvious even from across the bench: chips, cracks, and missing chunks at the rim of the joint. Even small chips at the edge are more than cosmetic. They can create leaks, because the seal is no longer continuous; stress concentrators, where force focuses onto a tiny region; and weak points under vacuum or thermal shock, increasing the risk of sudden failure.
Other warning signs are more subtle: frosting that has become chalky white and rough after years of harsh cleaning, or a joint where parts of the frosted band have turned glassy and shiny. Those bright spots often mean the contact area has been polished away by wear, so less of the surface is actually doing the sealing. For a gentle reflux at atmospheric pressure, you might get away with it. For extended vacuum distillation, it is asking for trouble.
Over time, a simple little ritual can train your hands and eyes to catch problems early.
Quick checklist for judging a ground-glass joint
Once you start using this checklist as a habit, the whole process becomes almost automatic. You reach into a drawer, your fingers close around a joint, and one quick glance plus a half-turn test tells you if it is a friend or a problem. That quiet, almost unconscious judgment is part of what separates someone who merely uses glassware from someone who really understands it.
When that starts to feel natural, you’re ready for the next step: building complete apparatus from these joints—confidently, safely, and with the calm feeling that the glass is on your side, not working against you.
Next in the series
If this is your first time really paying attention to ground-glass joints, the next natural question is: how are these joints actually made? That smooth taper and fine frosted surface aren’t born in the furnace – they’re shaped step by step, from forming the glass body to grinding, checking, cleaning, and careful annealing.
In the next article, we’ll walk through that journey from glass tube to finished joint, and show how each stage of the process leaves subtle fingerprints you can see and feel on the final piece.